A Special Meccano Set for Ethiopia
Written by Viv Endecott for our April 2014 Newsletter
It’s a long story, but a friend of mine was off to help at a school for street children in Addis Ababa. The neighbouring junior school had sent a vague request for some physics equipment. Since they were being taught in English I decided to donate to them my set of Ladybird Junior Science books and the equipment needed for the many experiments described in the books. This included a set of scales, a toy crane, and something that would spin a Newton’s colour wheel; the inclusion of a small but perfectly formed Meccano set seemed to be in order!
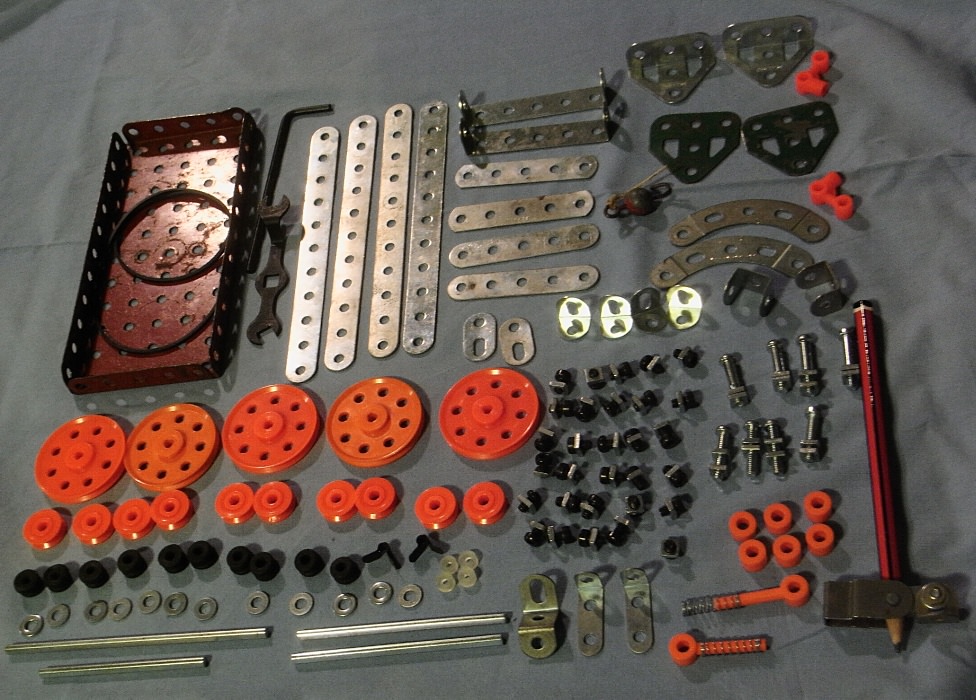
The contents of the outfit
The outfit was based on a Set 0 but modified with modern parts because our big restraint was an 8oz weight limit. The heavy crank handle was replaced with a lighter threaded pin. I did away with round axles because grub screws are easily lost and although the plastic tri-axle system is weaker, it is lighter and easier to use. I also thought that bright orange was less likely to get lost, although some extra parts were included to give the set resilience in case of loss or breakages. It was annoying that the original bush wheel has a slightly smaller diameter than the new tri-axle pulley so I couldn’t include instructions for the galloping horse model. My own physics is pretty awful, but I felt that I ought to be able to work out how a Roman scale worked. To my embarrassment, I couldn’t — but it had gone midnight by then! Perhaps there could be a Club Challenge to make a calibrated working Roman scale!
The parts list was as follows: 4 x part 2; 4 x 5; 2 x 10; 2 x 11; 4 x 12; 1 x 15b; 1 x 16a; 2 x 16b; 10 x 23; 2 x 35; 30 x 37b; 50 x 37c; 12 x 38; 1 x 44; 2 x 48a; 1 x 52; 1 x 57c; 4 x 59c; 2 x 90a; 4 x 111; 4 x 111a; 2 x 120e; 1 x 125; 2 x 126; 2 x 126a; 6 x A238; 4 x A247; 2 x A420; 5 x A621; 10 x A623; 2 orange axle brackets, plus driving bands, Allen key and two spanners.
My friend did some teacher training at the infant school, where she was amazed to find that even the teachers were new to the concept of a jigsaw puzzle! She gave my science boxes to the junior school’s Headmaster and another teacher who seemed to understand what it was all for.
This little Meccano set has gone to help some kids who aren’t at the absolute bottom of the pile because they are in a school where people care for them and are giving them the best start they can, albeit with very limited resources.
Suggested Models
Our suggested models were a dockside crane, a windmill, a set of balance scales, a pantograph, jumping jack and an acrobat. To be absolutely sure that they worked properly, we made up all six models with the parts we had supplied. We then made instruction sheets which included the original manual pictures along with photos of our modified versions.
Dockside Crane
The possibility of children having a kit to make their own toy crane inspired Frank Hornby to invent Mechanics Made Easy in 1901. In 1908 it was re-named Meccano. This design uses four big orange pulleys — one is under the base.
Our model doesn’t wobble because the 5-hole strips on the base plate support the two orange tri-axle pulleys. The string is held onto the axle with a spring clip. Make your crank handle with a pivot bolt.
This orange pulley has all the uprights bolted to it. It rests on another orange pulley so it can rotate. (I tested the design with different bolts — you may have to use the longer ones with nuts on top!)
The base of the spindle is supported under the flanged plate, held with a transparent collar.
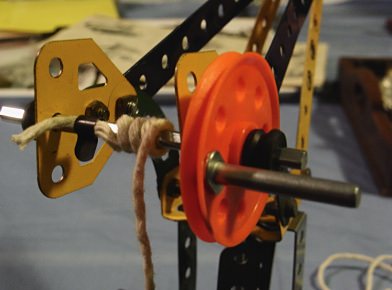
The string attached to the axle
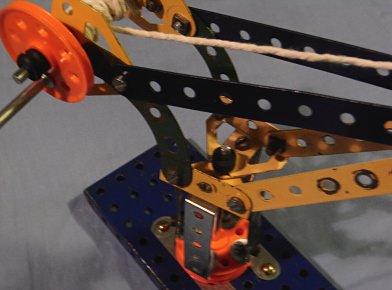
The top of the spindle attached to the jib
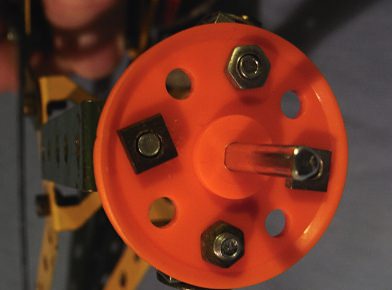
The bottom of the spindle attached to the uprights
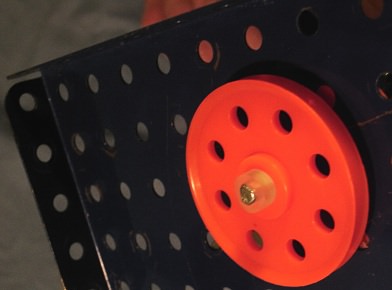
The base of the spindle under the flanged plate
Windmill
This is a great little model to show how gearing works. Start by connecting the driving band to the small black rubber pulleys on the top and bottom axles. Then try the bottom black pulley and the upper orange pulley — will it spin faster or slower? Then connect the lower orange pulley to the top black pulley — will it spin faster or slower?
There is a design problem here, in part because you only have one long axle in your set. A crank handle has been made with a pivot bolt and a spacer put behind the pulley along with a washer. Also the lower orange pulley doesn’t have enough clearance to spin properly. In the photo I fixed a curved strip under the trunnion to give the pulley a bit more space but I have now added a pair of orange plastic 5-hole brackets to the set so you can make something better!
A Set of Balance Scales
The design in the photos can be used for weights up to around 250g. Attach some pans to hold things. Marbles can be used as weights.
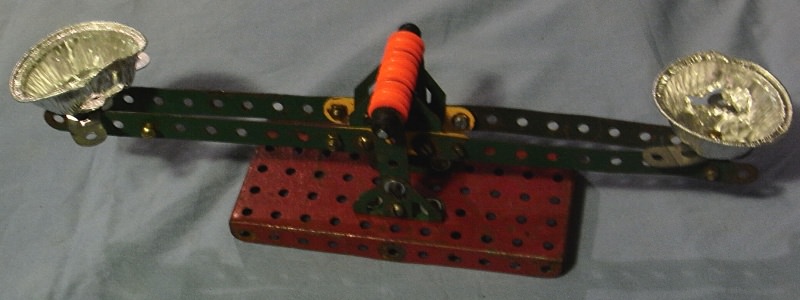
The completed set of balance scales
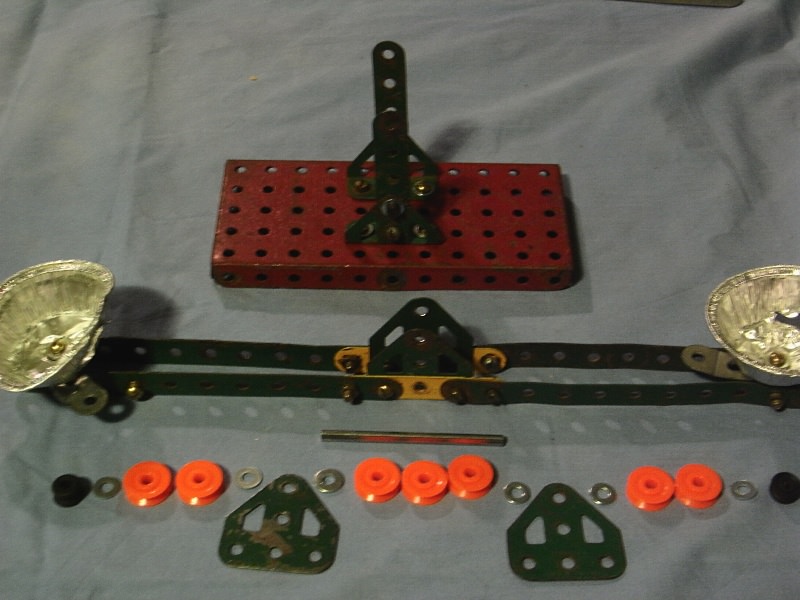
The 18 parts that make up the compound beam
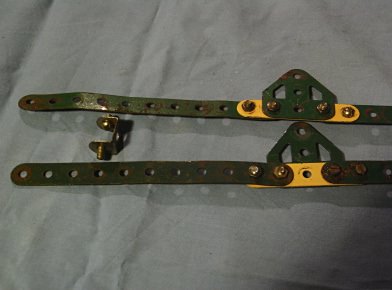
The double bracket fixed between the beam struts
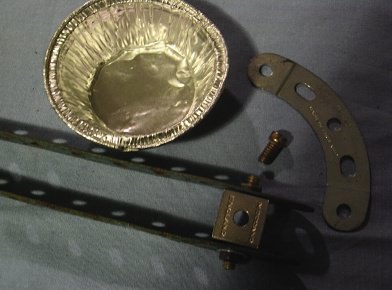
The curved strip beneath the pans
My model didn’t balance perfectly because of the assortment of nuts and bolts I used. Note the shiny bolt in the left arm to help it become level.
Pantograph
The Pantograph is one of the oldest designs of Meccano models and is great fun to operate. Use lock-nuts at the joints to create pivots; the nuts should be on top.
The pencil holder is attached with an angle bracket. Insert an orange shock-absorber peg (held by a collar) at point 8 to trace over a simple picture and it will be reproduced at a larger scale by the pencil. Reverse the peg and the pencil and you will create a smaller scale drawing.
Below I have surrounded the base plate with books and then put a piece of white card on top to make a level drawing surface for my paper. The red/black pencil is a special soft one.
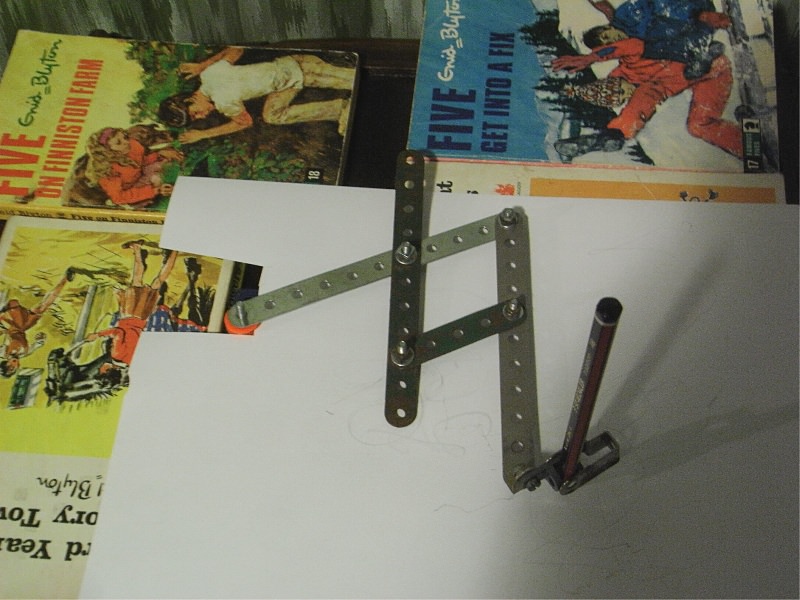
The pantograph surrounded by books with a white card drawing surface
Jumping Jack
He may look ugly, but pull the strings below his feet and Jumping Jack becomes an amazing dancer!
The photo is different from the original design, made with bits from the outfit. Lock-nuts are used at each joint.
He would look better with a bigger head. Each child could draw a self portrait, which is attached when they have their turn. You can hang him against a wall or door (the suspension string could go through his shoulders — the folded bits of the double angle strip).
The Acrobat
We have made a simpler model, which will swing when the orange pulleys are twisted backwards and forwards. He can be made to perform a complete somersault right over the top bar!
His hands grip the axle by being squashed between a pair of black rubber pulleys.
Use lock-nuts for the pivots and lots of washers.