3D Printing for Meccano
Written by Richard Marsden for our Easter 2016 Newsletter
I can almost hear the howls of protest, so let me say straight away that I believe the best material for most Meccano parts is steel. It’s strong, long-lasting, reasonably cheap, and suitable for mass-production. You can curve flat parts to shape and straighten them out again, paint the parts, strip them and repaint them.
But even Meccano themselves have used other materials. A lot of brass, of course, but also cardboard, cord, cloth, wood, rubber, nylon, and inevitably, plastics. Used appropriately, I don’t believe they compromise the basic concept of the toy.
So what can 3D printing add to Meccano? I decided that any parts I designed would have to meet three criteria. First, they shouldn’t replicate an existing part or combination of parts, unless they were a significant improvement. Secondly, they should be useful rather than merely ornamental. Thirdly, they should look as if they belong — parts Meccano never made, if you like.
It isn’t easy to meet these criteria. If you add the obsolete parts and the compatible parts made by enthusiasts, there aren’t many gaps in the range. Finding them, then creating a good design that will print reliably and function well is harder than it sounds. You begin to realise the challenge faced by Meccano’s new owners Spin Master as they try to bring the product up-to-date without losing sight of its origins.
So far, I’ve produced just two parts that pass my test: a three-dimensional corner filler, and a ‘root-two’ strip, although I do have more ideas to try.
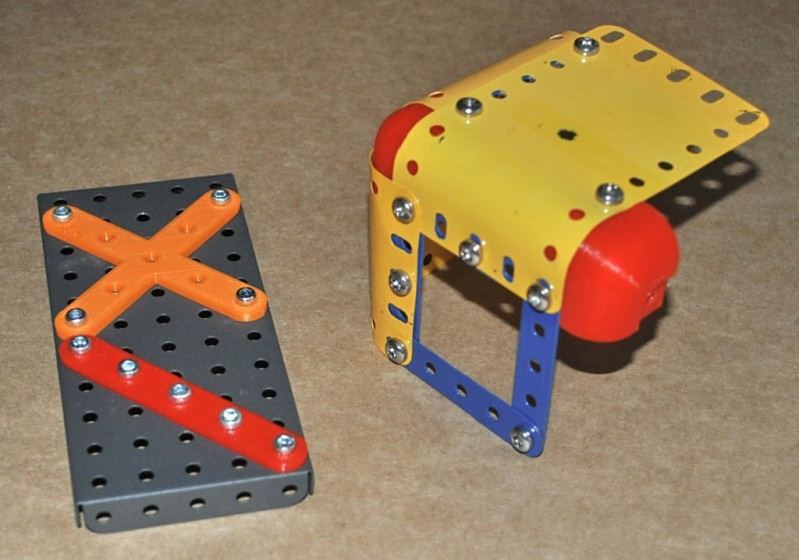
Left: root-two cross and root-two strip. Right: corner filler
If two or three curved edges meet at a corner, it’s difficult to obtain a smooth transition without butchering and panel-beating a flexible plate. What’s needed is a part of a sphere with bolt holes around its edges. With 3D printing, you can do this, although I did miscalculate one of the dimensions at my first attempt. The part needs to be solid; it would be too flimsy and impossible to print if it were hollow. But then the fixing bolts have to pass all the way through, which means they’ll all try to occupy the same space at the centre of the sphere. So recesses need to be provided for the nuts so that shorter bolts can be used. I did say it wasn’t easy.
The root-two strip is I hope self-explanatory (if the two short sides of a right angle 45° triangle are both 1 unit long, then the length of the diagonal will be √2 or approx 1.42 units). It fits across the diagonal of a square. I’ve also produced a root-two cross, but I wouldn’t count that as a separate part. The hole spacing is just over 41.4% greater than the standard strip. You can replicate this by bolting slotted strips together, but I don’t think that’s good structural engineering practice. You don’t have to stop at root two; other irrational numbers are available. For example, root three gives you a 60° triangle. The strip needs to be thicker than normal, say 1/8”, being plastic and partly hollow (the printer saves time and material by giving volumes with a thickness of more than a couple of millimetres or so a honeycomb core). Can you choose a different thickness and turn this to your advantage?
Other uses I’ve found are making bushes to fit non-Meccano wheels and roller bearings to Meccano axles, and a saddle to mount an electric motor with a cylindrical case. Although this could have been done with standard parts the result is neater and firmer. Perhaps a railway wheel with the correct flange profile — the list goes on.
The printer I bought is a Flashforge Finder. It’s compact (about a 40cm cube), of recent design, and has mostly positive reviews. It cost £500, which puts it at the cheaper end of the market, but don’t let that put you off. You need a laptop or desktop computer to run the software. The printer prints PLA which is derived from plant products such as corn, potatoes or sugar-beet. The alternative, ABS, prints at higher temperatures and its smell could be a problem in a domestic setting. Both types come as filament on a drum, a bit like garden strimmer refills, only much bigger. I’d recommend buying the best grade you can afford.
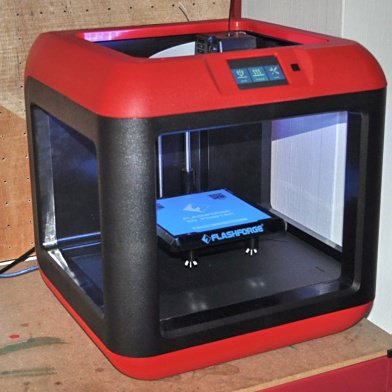
The Flashforge Finder 3D printer
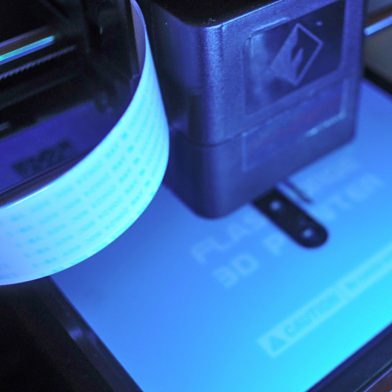
The printer in action
I had the printer working about forty minutes after getting it out of its box. The driver software comes on a USB stick, so you need to install it on your computer and check the manufacturer’s website for updates to the software and also for the printer’s firmware. Levelling the printer platform is straightforward, following the prompts on the printer’s control panel. Load the filament, transfer a drawing of a 3D object from your computer, wait for the printer nozzle to heat up to 220°C, and you’re off. I did a little victory dance round the room at this point.
Creating your own 3D designs takes a little practice. Several suitable drawing applications are available to download for free, provided you don’t use them to make anything for financial gain. In any case, parts take from about 15 minutes to a few hours to print out, so this isn’t mass production.
The software needs to be able to create STL files, which is a popular standard. I use Autodesk 123D Design, and find it best to lay out the part’s ‘floor plan’ before extruding upwards to make the solid shape. Typing actual sizes into the dialogue boxes instead of relying on the snap-to-grid feature is also advisable.
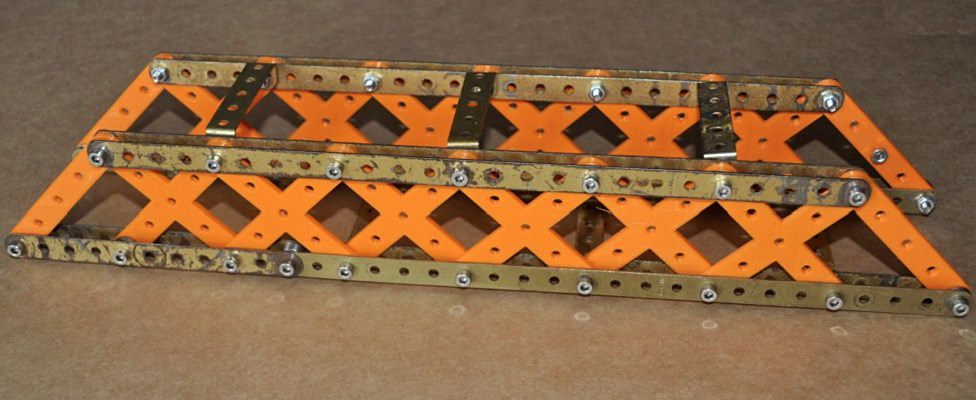
Girder bridge made from root-two crosses
Any drawbacks? Well, just occasionally a print will come unstuck from the printer platform halfway through, which ruins the print. This seems to happen mostly with larger prints, cheaper filament, and certain colours. The PLA contracts very slightly as it cools, and this may be part of the problem. I clean the platform surface with a computer screen wipe to remove any grease or perspiration, and this appears to help. I’m told a layer of watered-down PVA wiped across the platform also works. Others recommend a squirt of cheap hairspray! On the other hand, sometimes a print sticks so well it’s difficult to remove. The platform is actually a glass plate with a layer of blue masking tape on top, so force is not an option. A spell in the fridge does the trick, I’m told. All part of the learning experience.
Finally, the printer was a family purchase — my wife has a half share — so as well as Meccano parts, I’ve also made Bayko-compatible parts, stands for the floppy cardboard frames that school photos come in, and little ships for a battleship game. My granddaughter suggested doll’s house furniture.
The potential is almost endless, and I recommend anyone with the spare cash to have a go. It’s addictive!